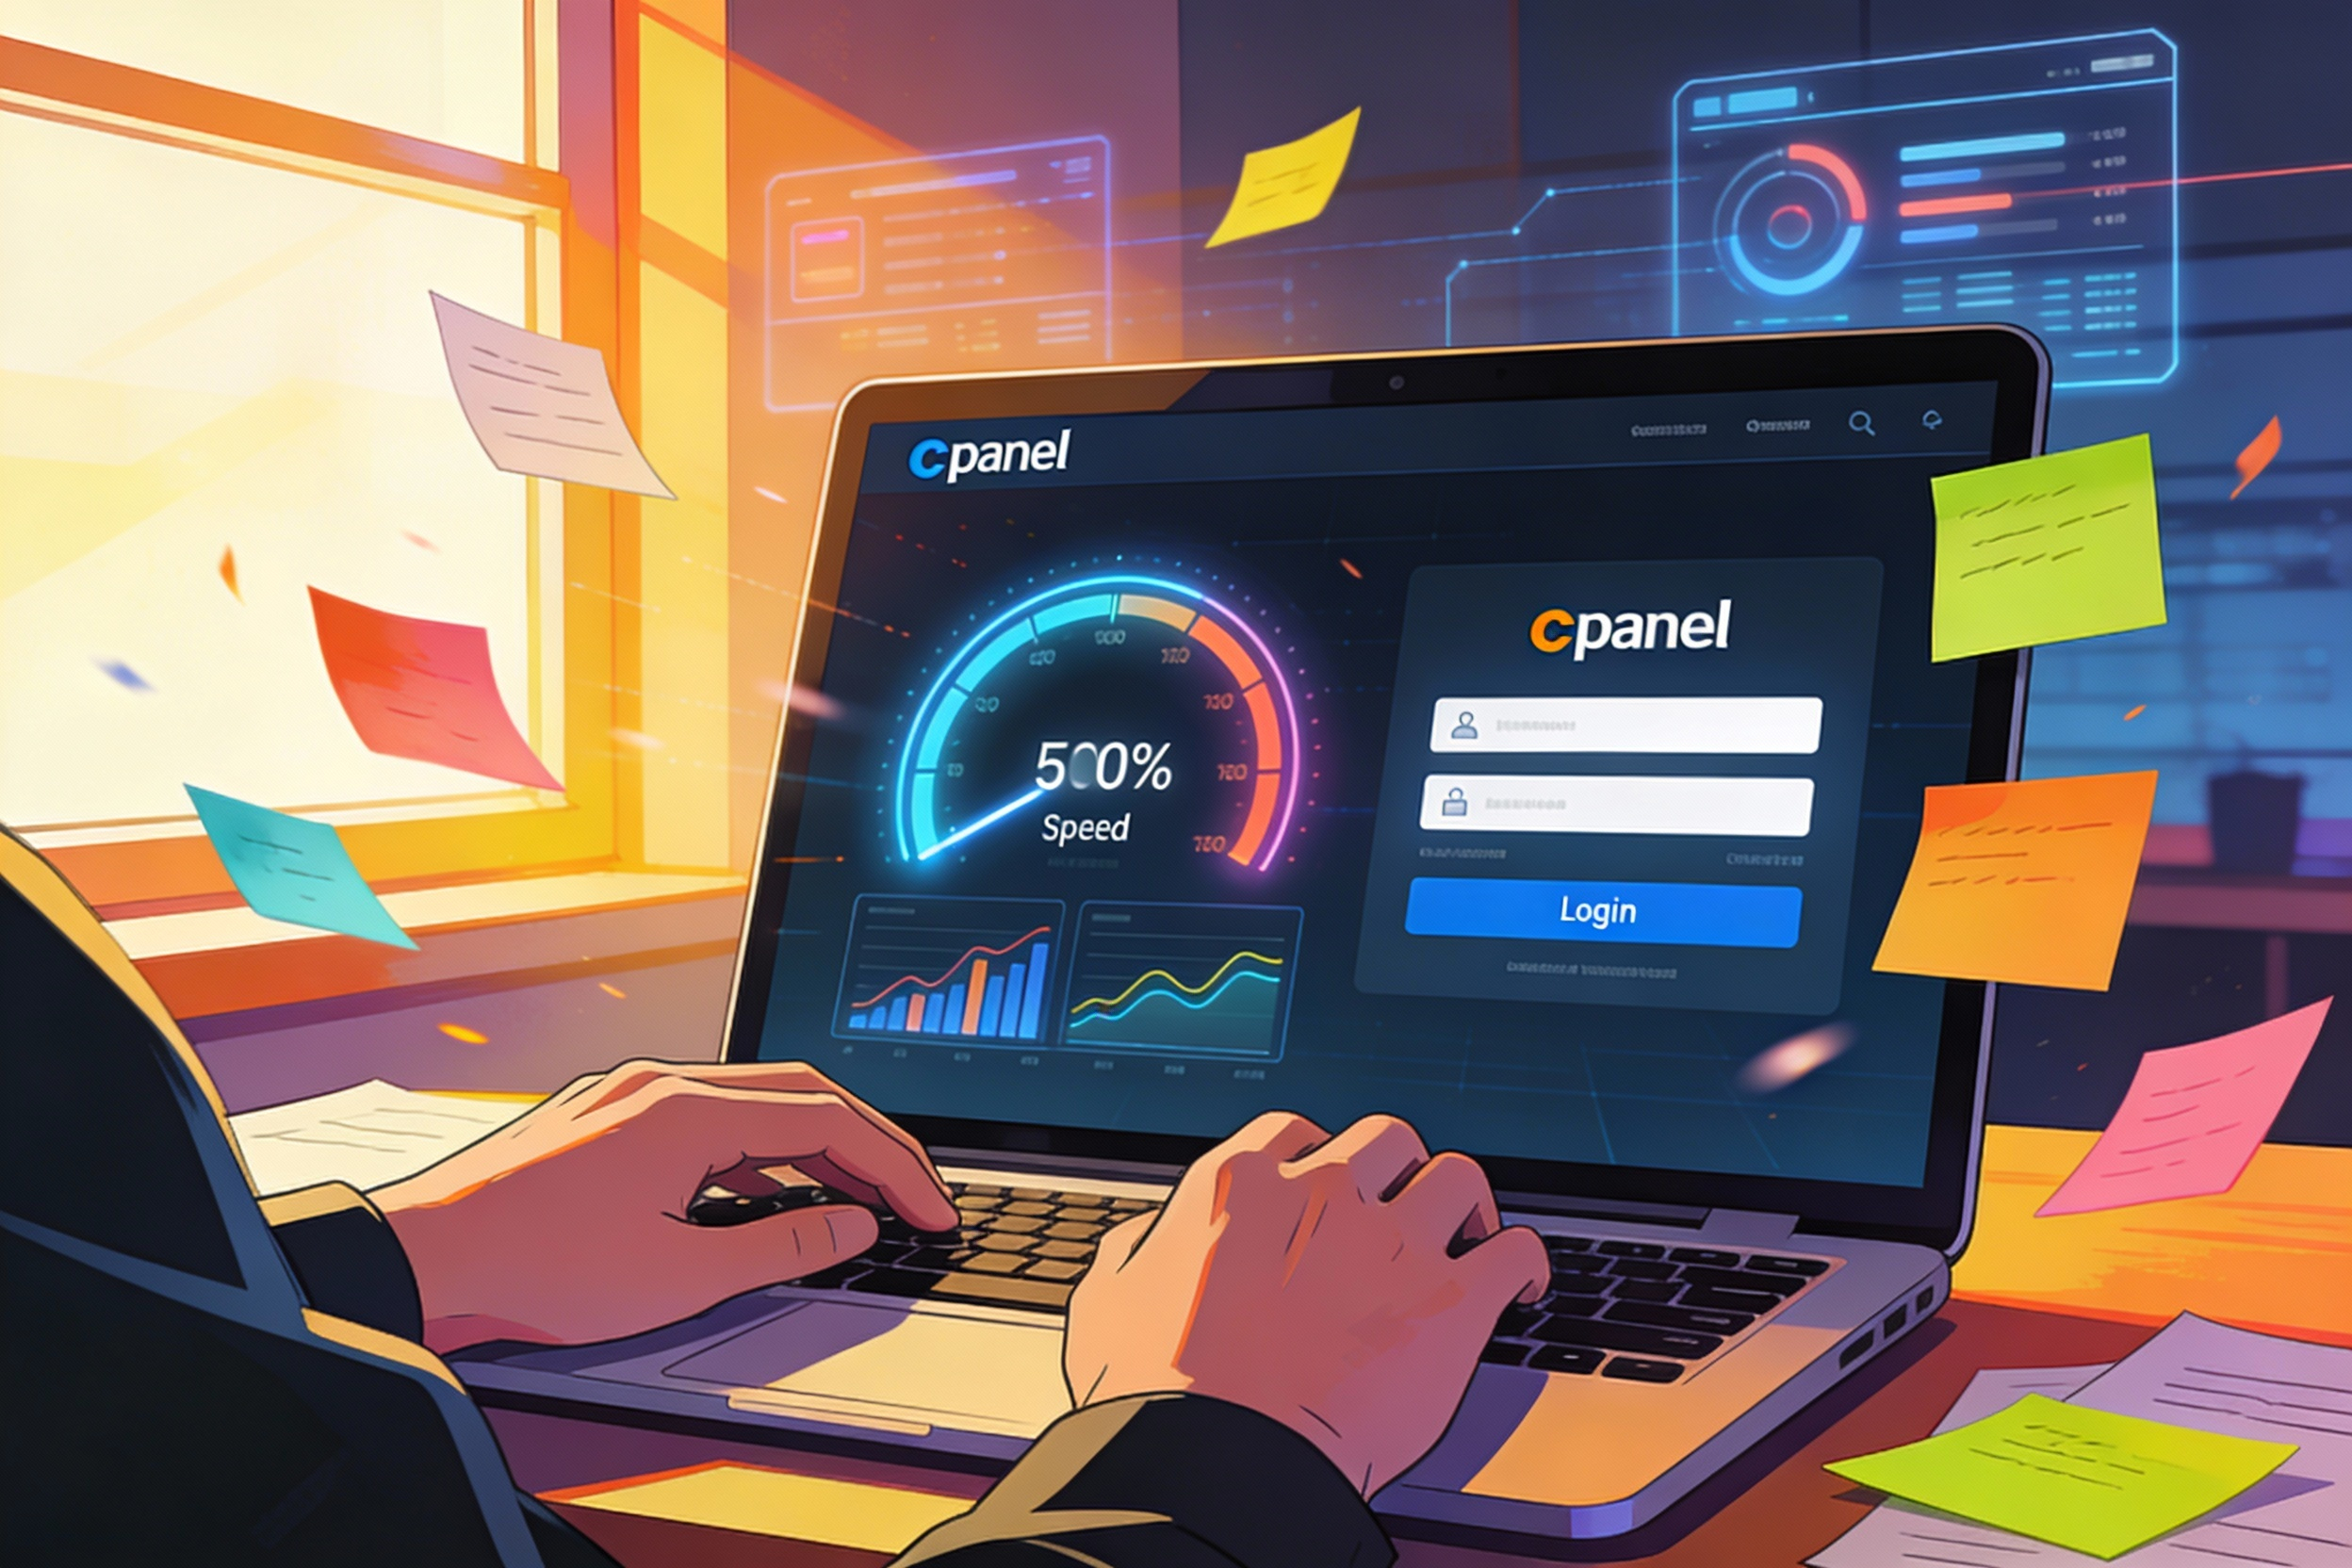
How to Increase Website Speed in cPanel (Step-by-Step Guide)
A slow website kills conversions, rankings, and user trust. The good news is that you can dramatically increase website speed directly from your cPanel dashboard, even if you are not a developer. This step-by-step guide will show you how to optimize speed for WordPress, WooCommerce, and PHP/HTML sites using only cPanel tools and simple settings.
Table of Contents
Why Website Speed Matters for SEO, Users, and Revenue
Website speed is not just a technical detail; it is a core part of your SEO strategy, user experience, and online business growth. Search engines like Google use performance signals, including Core Web Vitals, as ranking factors. If your site is slow, your ranking can drop, even if your content is good.
- Better SEO: Faster websites tend to rank higher on competitive keywords.
- More Conversions: Every extra second of load time can reduce sales and leads.
- Lower Bounce Rate: Users leave slow websites quickly, especially on mobile data.
- Improved User Trust: A fast and responsive site feels more professional and reliable.
The goal of this guide is to show you how to increase website speed in cPanel step-by-step so you can improve rankings, conversions, and overall performance without needing advanced server knowledge.
Step 0: Check Your Current Website Speed
Before changing anything, it is important to measure your current performance. This gives you a baseline and helps you see real improvements after each optimization.
Use any of these free tools:
- Google PageSpeed Insights
- GTmetrix
- WebPageTest
Note your First Contentful Paint (FCP), Largest Contentful Paint (LCP), and total load time. After you complete the steps in this guide, test again and compare.
Step 1: Enable Caching from cPanel
Caching is one of the most powerful ways to increase website speed. When caching is enabled, your server can serve pre-generated pages instead of rebuilding them on every request. This reduces CPU usage and delays, resulting in a much faster experience for visitors.
1.1: Use LiteSpeed Cache or Server-Level Cache (If Available)
Many modern hosting providers use LiteSpeed Web Server. If your server uses LiteSpeed, you can combine it with the LiteSpeed Cache plugin for excellent performance.
- Log in to cPanel.
- Look for tools like LiteSpeed Web Cache Manager or LSCache Manager.
- Enable caching for your domain.
- If you use WordPress, install and activate the LiteSpeed Cache plugin from the WordPress dashboard.
- In the plugin settings, enable page cache, browser cache, and basic CSS/JS optimization. Leave advanced options to default if you are not sure.
This combination of server-level and application-level caching can dramatically reduce load time and improve your PageSpeed score.
1.2: Use cPanel Cache Manager (Non-WordPress Sites)
If you have a pure PHP or HTML site, your hosting provider may offer a generic Cache Manager in cPanel. Use it to enable caching for static files such as images, CSS, and JavaScript. This reduces the number of disk reads and speeds up responses.
Step 2: Optimize Images Using cPanel & Plugins
Uncompressed and oversized images are one of the most common reasons for slow websites. Large image files increase page weight and delay loading, especially on mobile networks.
2.1: Compress Images via cPanel Image Tools
- Open cPanel and go to the Images section.
- Click on Optimize Images (if available).
- Select your main directory, usually
public_htmlor the specific domain folder. - Run optimization on all images, selecting a safe compression level (around 70–80% quality).
This server-side compression can reduce image size significantly without making them look blurry to users.
2.2: Use Plugins for WordPress Image Optimization
If you use WordPress, you can combine cPanel tools with plugins to get the best result:
- LiteSpeed Cache image optimization
- Smush
- ShortPixel
Configure the plugin to convert large images to lighter formats (such as WebP if supported) and set lazy loading for images below the fold. This ensures that images load only when they become visible.
Step 3: Enable GZIP or Brotli Compression
Compression reduces the size of HTML, CSS, JavaScript, and other text files before sending them to visitors. This can cut file sizes by 60–80%, which greatly improves speed.
3.1: Enable Compression Using cPanel "Optimize Website"
- Log in to cPanel.
- Find and click on Optimize Website.
- Choose the option Compress all content.
- Save the changes.
This usually enables GZIP compression on Apache servers. If your hosting uses LiteSpeed, you may also benefit from Brotli compression automatically.
Step 4: Clean Junk Files from File Manager
Over time, your hosting account can accumulate unnecessary files: old backups, temporary files, log files, and unused scripts. These increase disk usage and can indirectly affect performance, especially if you are near account limits.
4.1: Remove Old Backups & Unused Files
- Open File Manager in cPanel.
- Navigate to
public_htmlor the main folder of your domain. - Look for large backup files such as
.zip,.rar, or old installer packages. - Download a copy if needed, then delete them from the server.
4.2: Clear Cache and Large Log Files
- Inside
wp-content, open thecachedirectory and remove old cache files. - Locate large
error_logfiles and reduce them by downloading or clearing content.
Keeping your hosting space clean helps the file system respond more quickly and reduces the risk of hitting account limits that can slow down your site.
Step 5: Optimize the Database via phpMyAdmin
Every dynamic website, especially WordPress and WooCommerce, depends heavily on its database. Over time, tables can collect overhead, auto-saved revisions, spam comments, and temporary data that slow down queries.
5.1: Manual Optimization Using phpMyAdmin
- Open cPanel and click on phpMyAdmin.
- Select the database associated with your website.
- Scroll to the bottom and click Check All.
- From the drop-down menu, choose Optimize table.
This operation defragments the tables and cleans internal overhead, which makes database queries faster.
5.2: Plugin-Based Database Optimization for WordPress
If you prefer a safer, user-friendly method:
- Use LiteSpeed Cache database tools.
- Or install WP-Optimize or a similar trusted plugin.
These tools can delete post revisions, transient options, and spam comments in a controlled way.
Step 6: Choose the Right PHP Version & Speed Extensions
The version of PHP running on your server can significantly affect speed. Newer PHP versions usually execute code faster and handle more requests with the same hardware.
6.1: Change PHP Version in cPanel
- Open cPanel and click on Select PHP Version or MultiPHP Manager.
- Choose a recommended version such as PHP 8.1 or PHP 8.2, if your applications support it.
- Apply changes for your domain.
6.2: Enable OPcache and Required Modules
While still in the PHP selector:
- Enable OPcache to cache compiled PHP code.
- Enable modules like curl, zip, and imagick if your site needs them.
OPcache can make PHP response times noticeably faster, especially on busy sites.
Step 7: Use Redis or Memcached for Object Caching
Object caching stores the results of expensive database queries and computations in memory. This is especially useful for busy WordPress and WooCommerce sites.
7.1: Enable Redis or Memcached in cPanel
- Open Select PHP Version or similar tool.
- Look for extensions named redis or memcached and enable them.
- Save the configuration.
7.2: Connect Object Cache to WordPress
In WordPress:
- Use LiteSpeed Cache or a dedicated Redis/Memcached plugin.
- Enable object cache and configure it to use the enabled backend.
With object caching, dynamic pages such as product listings and dashboards load much faster.
Step 8: Speed Up Global Visitors with a CDN
A Content Delivery Network (CDN) distributes copies of your website content across multiple servers worldwide. Users get content from the nearest location, which reduces latency and speeds up loading.
8.1: Connect Your Site to a CDN
- Sign up for a CDN service such as Cloudflare or a LiteSpeed-compatible CDN.
- Change your domain nameservers to those provided by the CDN, if required.
- Enable performance features like HTTP/2, HTTP/3, Brotli, and caching.
Once configured, your site can serve static assets like images, CSS, and JS from edge locations closer to visitors.
Step 9: Remove Heavy Plugins and Themes
Too many plugins or poorly coded themes can slow your site, even if caching is enabled. It is important to keep your installation lightweight and clean.
9.1: Audit Plugins in WordPress
- Go to Plugins > Installed Plugins in your WordPress dashboard.
- Deactivate plugins you do not use.
- Delete unnecessary plugins completely rather than leaving them deactivated.
Try to avoid running multiple plugins that perform similar functions, such as multiple cache plugins or multiple page builders.
9.2: Remove Unused Themes
- Go to Appearance > Themes.
- Keep your main active theme and at most one default theme for fallback.
- Delete all other themes.
Removing unused code reduces the chance of conflicts and small performance hits.
Step 10: Fix Slow Cron Jobs Using cPanel
WordPress uses a virtual cron system (wp-cron.php) that runs on page visits.
On busy sites, this can create extra overhead. Moving cron tasks to a real server cron can help.
10.1: Disable Default WP Cron
- Open File Manager in cPanel.
- Edit
wp-config.php. -
Add the following line before the line that says
/* That's all, stop editing! */:define('DISABLE_WP_CRON', true);
10.2: Create a Real Cron Job in cPanel
- In cPanel, go to Cron Jobs.
- Set the time to run every 5 or 10 minutes.
-
Use a command similar to:
*/5 * * * * wget -q -O - https://yourdomain.com/wp-cron.php?doing_wp_cron >/dev/null 2>&1
This approach keeps scheduled tasks running smoothly without impacting every page load.
Step 11: Reduce Inode Usage for Faster Response
Inodes represent the number of files and directories in your hosting account. If your inode usage is too high, the server can slow down file operations, indirectly reducing site performance.
11.1: How to Reduce Inode Usage
- Delete old backups and unused installation folders.
- Clean up temporary files and cached data that are no longer needed.
- Empty spam and trash folders in webmail if you use server-side email.
Keeping inode usage under control helps your hosting account remain responsive and stable.
Step 12: Use SSL, HTTP/2 and HTTP/3 Effectively
Modern protocols like HTTP/2 and HTTP/3 can improve performance, especially when combined with SSL. Most modern hosting already supports them, but your site must use HTTPS to take advantage of them.
12.1: Enable AutoSSL from cPanel
- Open SSL/TLS Status in cPanel.
- Make sure your domain has a valid SSL certificate.
- Run AutoSSL if needed.
12.2: Force HTTPS Using .htaccess
Add the following code to your .htaccess file inside public_html:
RewriteEngine On
RewriteCond %{HTTPS} !=on
RewriteRule ^ https://%{HTTP_HOST}%{REQUEST_URI} [L,R=301]
With HTTPS enforced, your visitors can benefit from HTTP/2 and HTTP/3 where supported, improving loading speed for pages with many assets.
Advanced: .htaccess Tweaks for Extra Speed
If you are comfortable editing .htaccess, you can add simple rules to control browser caching
and improve performance further.
Browser Cache Expiry
<IfModule mod_expires.c>
  ExpiresActive On
  ExpiresByType image/webp "access plus 1 year"
  ExpiresByType image/jpeg "access plus 1 year"
  ExpiresByType image/png "access plus 1 year"
  ExpiresByType text/css "access plus 1 month"
  ExpiresByType application/javascript "access plus 1 month"
</IfModule>
This tells browsers to reuse cached files instead of downloading them again, which speeds up repeat visits.
Speed Optimization Checklist in cPanel
Here is a quick checklist you can use to confirm that you have completed all important steps to increase website speed in cPanel:
| Task | Status (Done / Pending) |
|---|---|
| Enabled caching (LiteSpeed or cache manager) | |
| Compressed and optimized images | |
| Enabled GZIP or Brotli compression | |
| Cleaned backup, temp and log files | |
| Optimized database tables | |
| Upgraded to a modern PHP version | |
| Enabled OPcache and required extensions | |
| Activated Redis or Memcached object caching | |
| Connected the site to a CDN | |
| Removed unused plugins and themes | |
| Moved WordPress cron to cPanel cron jobs | |
| Reduced inode usage and cleaned directories | |
| Enabled SSL and forced HTTPS |
Frequently Asked Questions
1. Does cPanel itself make the website faster?
cPanel is a control panel, not a performance engine. However, cPanel gives you easy access to tools like caching, database optimization, PHP version management, file cleanup, and SSL configuration. Using these tools correctly can significantly speed up your website.
2. How often should I optimize my database and cleanup files?
For active sites, it is a good practice to run basic cleanup and database optimization once or twice a month. If you run a high-traffic store or large blog, you can do it more frequently.
3. Will these steps break my website?
The steps in this guide are generally safe, but it is always wise to take a backup before major changes. Avoid aggressive minification or removal of unused CSS/JS if you are not sure how your theme handles assets.
4. What if my website is still slow after doing everything?
If you have followed all steps and your website is still slow, the issue may be with extremely heavy code, a poorly built theme, or an overloaded server. At that point, consider using a lightweight theme, reducing complex scripts, or upgrading to a faster hosting plan with NVMe SSD and better resource limits.